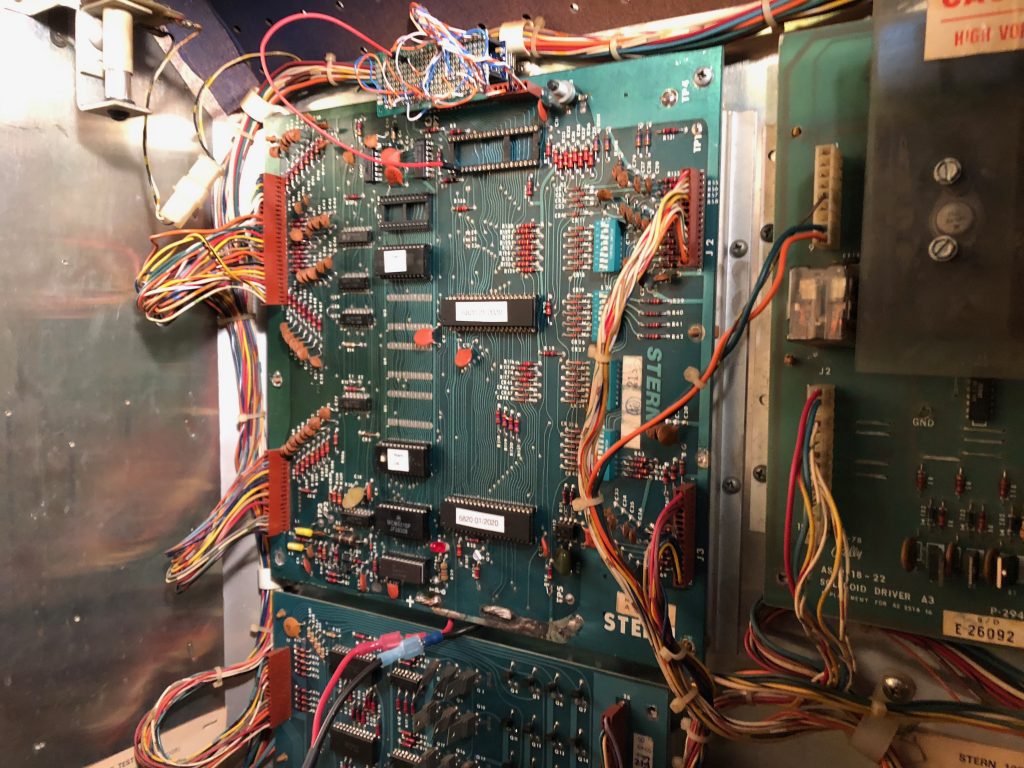
NVRAM Compatibility List and Installation Locations
** indicates the original RAM is soldered directly onto the PCBNVRAM installation requires finding the original SRAM chip and swapping it out for the new NVRAM module. No instructions are included with the NVRAM modules. Systems where the original RAM is hard soldered to the PCB good rework tools and skills are required to desolder the original RAM and install the included IC socket.
5101 NVRAM
Bally / Stern AS-2518-17, AS-2518-35, MPU-100 = U8, MPU-200 = U8 & U13
Williams System 3 through 7 = IC19 **
Williams Defender (video) = U?? **
Gottlieb System 80, 80A, 80B = Z5 **
Zaccaria System 1 = IC7
6116 NVRAM
Bally / Midway 6803 = U4
Williams System 9 = U18 **
Williams System 11, 11A, 11B, 11C = U25 **
6116 NVRAM with /CE pullup resistor
Atari Pole Position (Pole Position II may not be supported?) = 7E
Bally / Midway MCR video games ; Demolition Derby = G5, Discs of Tron = B6, Domino Man = B2, Journey = G2, Kick = D8, Kick-Man = D8, Kozmik Krooz’r = B2, NFL = G5, Satan’s Hollow = B2, Sarge = G5, Spy Hunter = G5, Solar Fox = D8, Tapper = G5, Timber = G5, Tron = B2, Two Tigers = B2, Wacko = B2.
(MCR locations need verified, if you notice any wrong let me know)
6264 NVRAM
Data East (Pinball) = 5D
Sega Whitestar = U212
Stern Whitestar = U212
Williams WPC-89, WPC-S, WPC-95 = U8 **
5114 NVRAM
Stern (video) Frenzy and Berzerk = 1E **
Williams Video Games; Blaster, Bubbles (need two), Joust, Joust 2, Robotron, Sinistar, Splat, Stargate = ?? **
This is not a comprehensive list and the NVRAM modules will likely work in other equipment such as synthesizers, vintage computers, and other video games. If you see any mistakes in the Bally MCR game list please let me know. Check the Cypress datasheet about design considerations for retrofitting into other battery backed SRAM applications not listed.
Category Archives: pinball
Pinball Makers
The Basics
Click above to get a rundown of the basic components that go into a pinball machine and how they are connected.
CobraPin Controller
Overview | Wiring | Troubleshooting
Open Pinball Project
Hardware | Getting Boards | Assembly | Programming
Wiring | Troubleshooting
P3-ROC Custom Pinball Controller
P-ROC (Pinball – Remote Operations Controller)
How It Works | How the Driver Boards Work
Installation | Controlling Coils
FAST Pinball Hardware
Design
Basics | Software
Construction
Tools | Materials | Whitewood | Cabinet | Electronics
Wiring | Displays | Lighting | Custom Parts
Artwork
Style | Design | Printing
Programming
SkeletonGame
Custom Games
Vendor List | Files Section
Source: Pinball Makers
the ARCade ARChive.
Manuals, roms, articles, lots of stuff. https://arcarc.xmission.com/
Source: Index of /
Custom Multicade Art & Arcade Graphics Shop | GameonGrafix
PinballCode.com – Home
Source: PinballCode.com – Home
Pinball Life: .156″ Trifurcon Crimp Terminals
anyPin NVRAM Battery Eliminator
http://lockwhenlit.com/anyPin.htm
Pinball NVRAM – 6264 NVRAM Battery Eliminator (also replaces 6064, 2064 RAM) – Pinitech.com
How to Reuse Decals – Ramp-O-Matic
HOW TO REUSE DECALS
Posted by Ramp-O-Matic Staff on
One of the main hiccups in replacing your pinball machine ramp is finding replacement decals. Most of the time, you can actually reuse your decals! Follow along to see how.
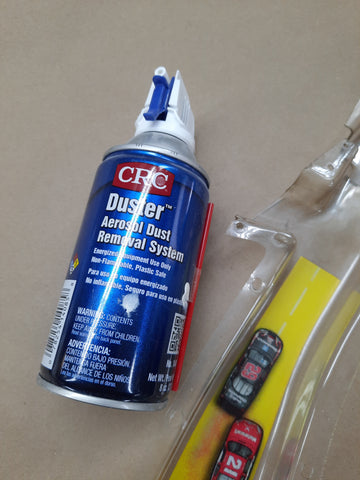
Products I used for this tutorial:
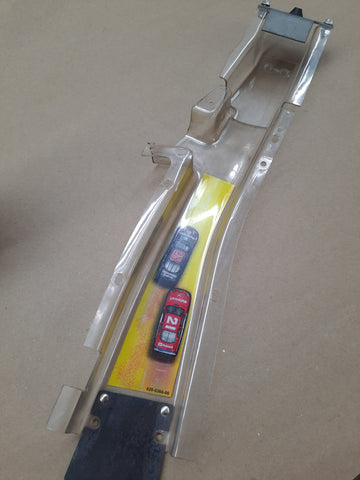
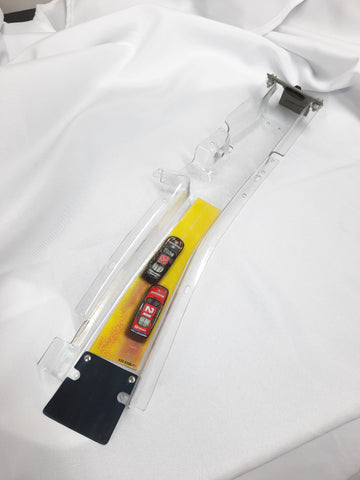
Here we have a Stern Nascar ramp. These Stern decals are actually much thinner than the old Bally/Williams decals, but we can still reuse them!
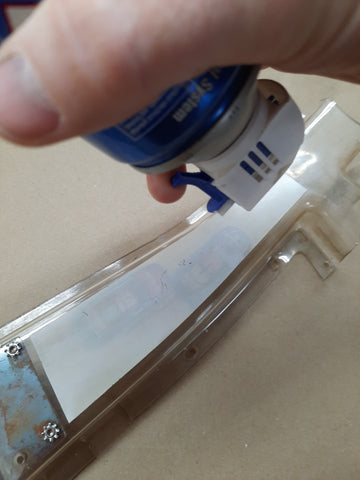
We will use a can of canned air while inverted to freeze the glue holding the decal on.
Invert the canned air, and spray the liquid all over the decal. Then use a fingernail or knife edge to peel a corner away. You should be able to freely begin dislodging the decal. If it stops peeling, stop pulling and reapply the liquid from the canned air.
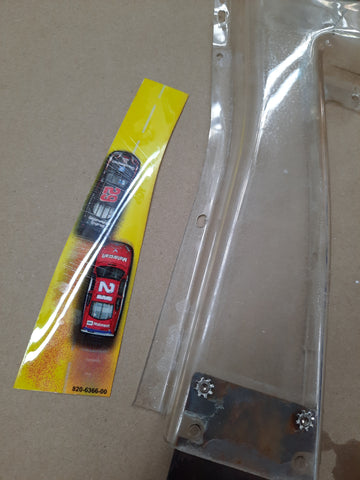
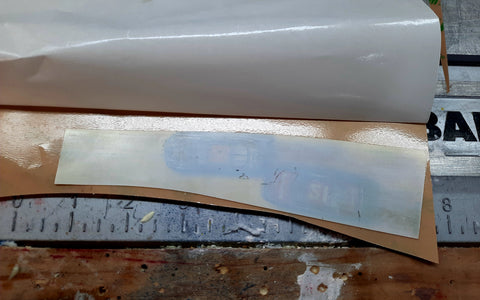
Once you have the decal removed, use some goof off, goo gone or other cleaner to remove any remaining adhesive from the decal. Once the decal is clean, we can apply new adhesive.
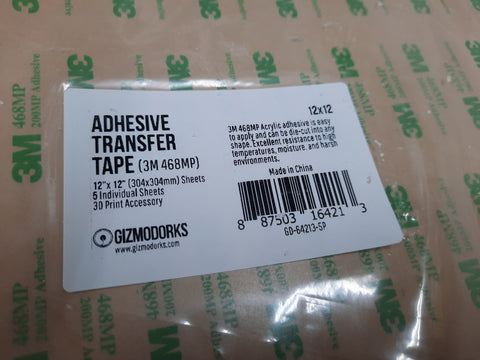
We will use 3M brand 468MP adhesive sheets to reapply the decal. This material is nothing more than an extremely thin layer of adhesive with no substrate. This material is available on Amazon, and will most often be sold under the “Gizmodorks” label.
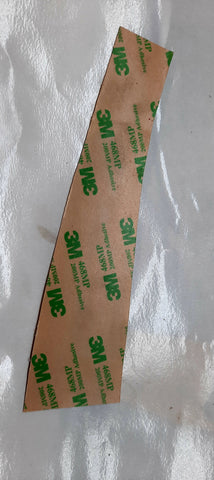
Peel some of the backer paper off, and carefully apply the decal to the adhesive.Using a sharp blade, trim the decal away from the rest of the adhesive sheet.
Now you can apply the decal to the finished ramp. Looks like new!